Plan an anime reveal around one story beat
Choose one visual change that viewers can understand immediately. Strong options include an alternate expression, a second character, a costume detail, a glowing object, a caption, or a background event. The reveal should add a story beat instead of replacing the entire illustration.
Keep the main face, silhouette, or pose visible in the timeline state. This gives the post a clear subject before interaction. If the first state removes every identifying feature, the image can look unfinished and viewers may scroll past without discovering the alternate version.
Use a source with clean line hierarchy
Anime and AI illustrations often contain fine hair strands, costume lines, particles, and detailed backgrounds. Decide which lines belong to the subject and which can disappear with the hidden region. A clear hierarchy makes masking faster and protects the character from looking accidentally cut apart.
Use a source where the important expression and shape remain readable at feed size. Tiny symbols and low-contrast effects may disappear after X resizes the image. Crop unnecessary empty space and keep the payoff away from extreme edges that may be affected by preview layouts.
Mask faces, hair, and effects carefully
Start with a medium brush for the main hidden shape, then reduce the size around eyes, mouth, hair, hands, and costume edges. Increase hardness for clean cel-shaded boundaries and line art. Lower hardness for lighting, painted backgrounds, smoke, or soft energy effects.
Use the eraser to restore lines that should remain visible in the first state. Undo protects recent strokes. If the revealed background is much larger than the character you want to keep, paint the character and use reverse selection instead of masking every background region manually.
Start from the Anime Reveal preset
Anime Reveal increases contrast and saturation so line art and color separation remain clear after feed compression. It also keeps a small amount of softness for illustrated edges. Use it as a starting point, then compare the timeline and complete previews before changing any controls.
Adjust Reveal Strength first. Raise it when the hidden expression or character remains obvious. Lower it only when the timeline state feels broken. Reduce Saturation if skin tones or effects become too intense, and keep Blur low when crisp line work is part of the style.
Build a readable first state
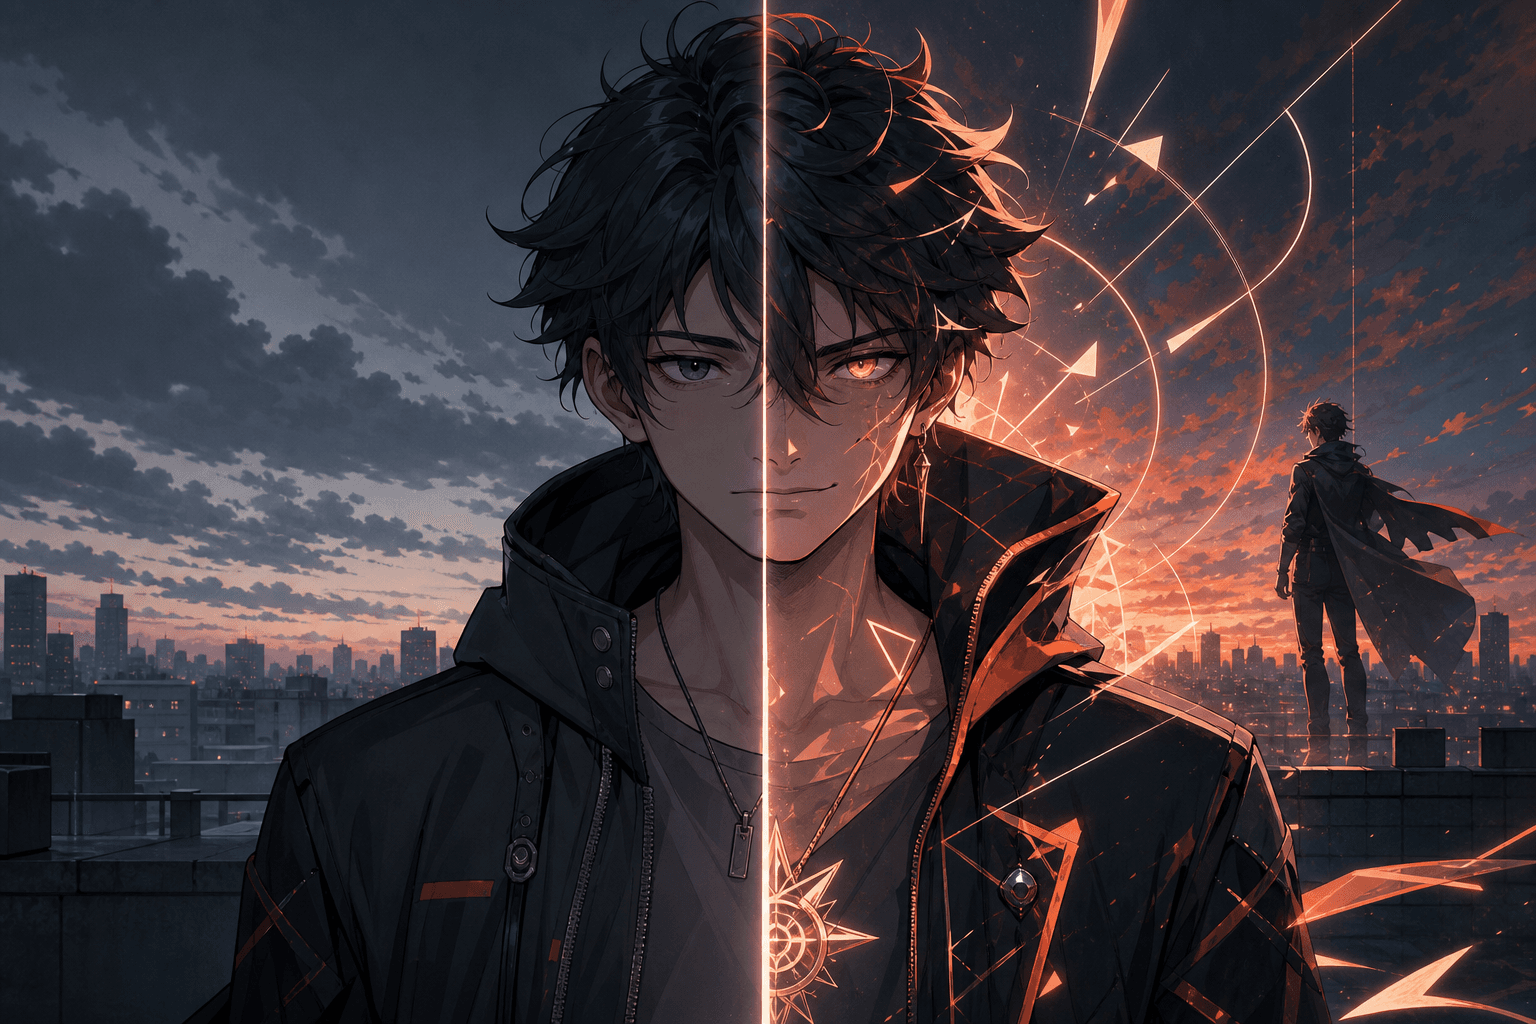
The visible version should still feel like intentional key art. Preserve the face outline, pose, environment, or one strong prop. Hide the detail that changes the meaning. In the example, the overall portrait remains coherent while the coral energy, stronger expression, and second silhouette complete the reveal.
Check the timeline panel at normal size. If the first state becomes a dark block or loses the character, erase part of the mask. If the reveal difference is too small, simplify the mask around one larger payoff instead of adding many tiny hidden areas.
Protect the PNG through publishing
Generate the result and confirm PNG with Alpha before downloading. Keep reveal-output.png as the master file. Do not send it through an app that converts images to JPG or places transparency on a solid background, because that removes the prepared viewing state.
Test the image in a low-risk X post. Illustration colors, dark mode surfaces, compression, and preview sizing can affect the result. Keep the original source available so you can rebuild with a stronger mask or more conservative parameter settings after testing.
Write a caption for the alternate version
Use a short, accurate instruction such as “long press for the alternate expression,” “tap and hold for the second character,” or “press the image to reveal the final version.” The wording should describe the actual payoff and let the artwork carry the surprise.
Credit the artist and any relevant creation workflow. Only edit and publish artwork you have permission to use. For spoiler art, name the series or episode context before inviting interaction so viewers can decide whether to reveal it.