Choose one product payoff
Decide which product detail deserves the interaction. It can be a redesign, material finish, feature interface, final color, before-and-after result, launch code, or new accessory. Keep the reveal focused on one message so viewers understand the difference without reading a long explanation.
Do not hide the complete product category or essential value. The timeline state should still communicate whether the post is about hardware, software, apparel, packaging, or another type of launch. The reveal adds the new detail instead of making the audience guess what is being promoted.
Prepare a feed-size campaign asset
Use a clean source with one product focal point, readable lighting, and enough contrast between the setup and payoff. Small interface labels and subtle material changes can disappear after compression. Crop the source so the feature remains visible on a phone and stays away from uncertain preview edges.
Product photography should retain realistic shape and material cues in both states. For screenshots, use large interface regions rather than tiny controls. For before-and-after results, align both states so the visual change is easy to compare without relying on the caption.
Mask the feature, not the whole offer
Paint the final detail that completes the launch story. Use a harder brush around buttons, screens, packaging edges, typography, and geometric hardware. Use softer edges for lighting, fabric, cosmetic texture, food, or a photographic transition. Refine important edges with the eraser.
Reverse selection is useful when one product should remain visible against a large hidden scene. Paint the product, enable reverse, and inspect the timeline state. Undo recent strokes when a mask crosses the silhouette, and reset only when the complete masking strategy needs to change.
Choose parameters that protect the product
Start with Standard for product photography and interface screenshots. Dark Reveal can help black hardware, night scenes, or shadow-heavy launch images. Use Glow Reveal only when the visual identity already depends on bright light effects. The template should support the product rather than become the campaign style.
Adjust Reveal Strength first, then Contrast if the two states remain too similar. Use Blur sparingly around sharp product edges and interface text. Keep Saturation close to the source unless compression makes the accent disappear. Compare every change against both previews.
Make the first state useful
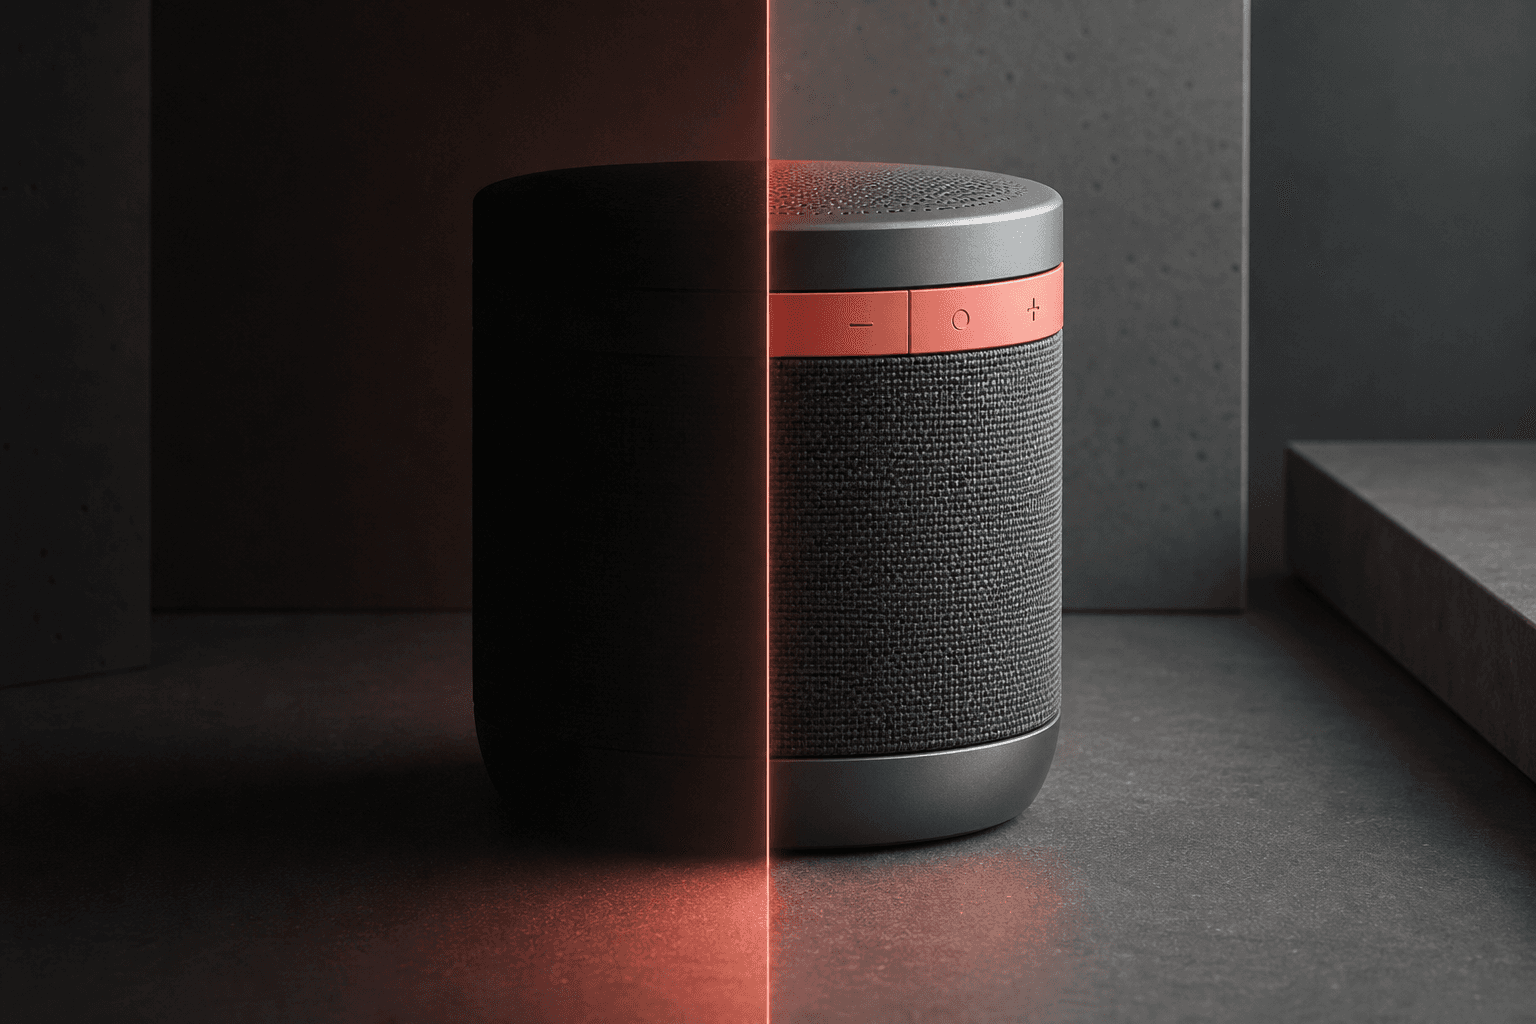
The timeline version should establish the category, problem, or before state. In the speaker example, the silhouette and cylindrical form remain understandable, while the material, control ring, and lit studio surface become the payoff. This creates curiosity without hiding what kind of product the post contains.
If the first state looks like a black rectangle, restore shape and context with the eraser or reduce the masked region. If the reveal is too subtle, increase strength or focus the mask on a larger feature. A product reveal should feel intentional even when the interaction is unavailable.
Connect the reveal to one conversion action
After the interaction instruction, give the viewer one next step: join a waitlist, open the launch thread, try the product, watch the demo, or visit the product page. Several competing links weaken the launch message. Keep the reveal, value proposition, and CTA aligned around the same feature.
Essential details such as pricing terms, availability, or required disclosures should remain in normal text or the destination page. Platform rendering varies, so the hidden image must not be the only place a buyer can access important information.
Test before the campaign goes live
Generate the PNG, keep the original download, and avoid tools that flatten transparency. Publish a low-risk test and check the result on mobile and desktop when the effect is central to the launch. X controls the final crop, compression, background, and preview behavior.
Keep a normal static campaign image ready as a fallback. If the test is weak, return to the source, simplify the mask, and rebuild with stronger visible context. The reveal format should add interaction without creating a single point of failure for the launch.